≡ Menu
Spicy Seitan Salad Toppers

Spicy Seitan Salad Toppers

I don’t know if my post last week about Betty was prescient or merely timely but OHMYGAWD did we have a rough couple of days! When we got home from work on Thursday everything seemed normal- she was running around barking at us to hurry up and serve her dinner. This happens twice a day, every day. But after dinner she was pacing a lot, which isn’t normal. And when we went to bed I noticed she was breathing a little funny. I woke up many times during the night to check on her, and although she was still breathing funny, it didn’t seem to be any worse.

Friday morning, I could barely get her out of bed. Her breathing was quick and shallow, and her back legs would barely work. We had to carry her down the stairs so she could go outside, and of course she had no interest in breakfast. She was also very lethargic. Obviously I wasn’t going to work.

A trip to the vet, another to the canine neurology specialist, and a nearly 4-figure bill later, we knew that Betty had Aspiration Pneumonia. This is fairly common for dogs (and people!) with Megaesophagus- because there’s so much hacking and regurgitation going on, it’s easy for bits of food or water to make their way into the lungs. At least the neurology scare turned out to be just that- a scare.

I was able to bring her home late Friday afternoon, and we started her on antibiotics immediately. I could see the improvement on Saturday morning, and by yesterday she was nearly back to normal. Of course she still has another week or so of meds, but she seems to be feeling pretty good which is all that matters.

Crisis averted. But, of course, all the stress and drama didn’t leave me much time for cooking or blogging, so I don’t have anything terribly exciting for you today. My apologies, but as vegans and animal lovers, I’m sure you all understand!

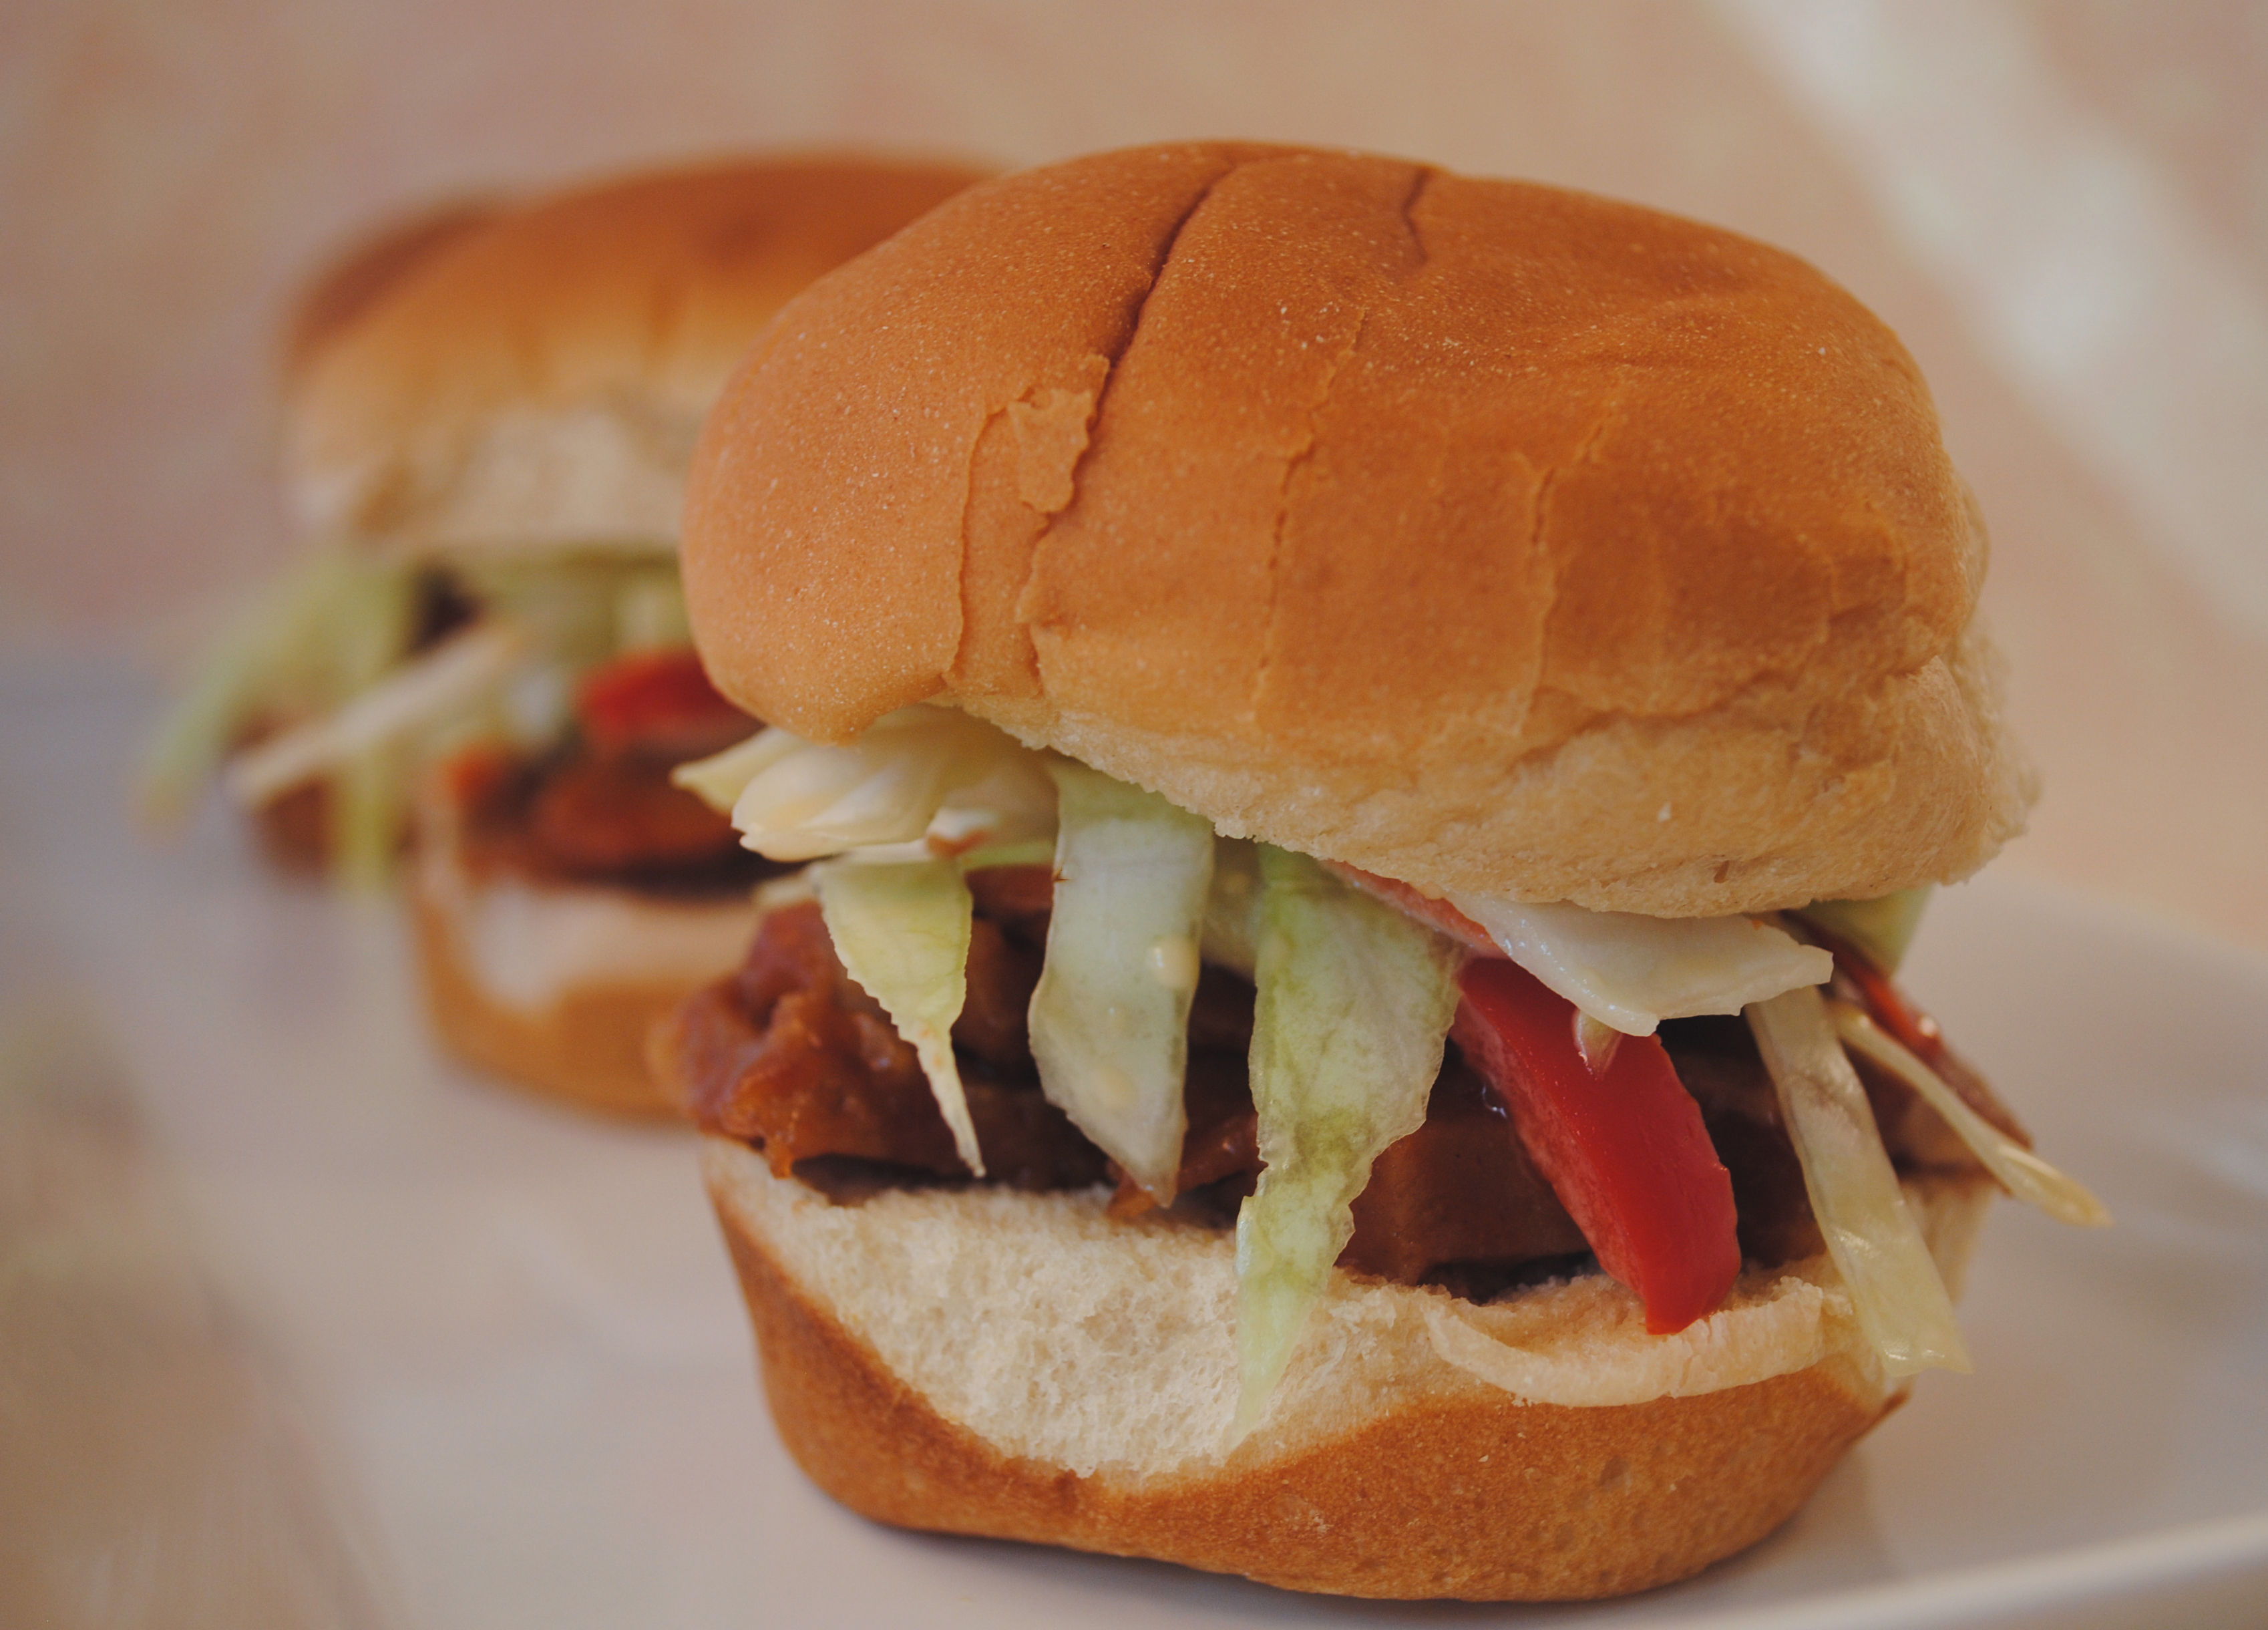
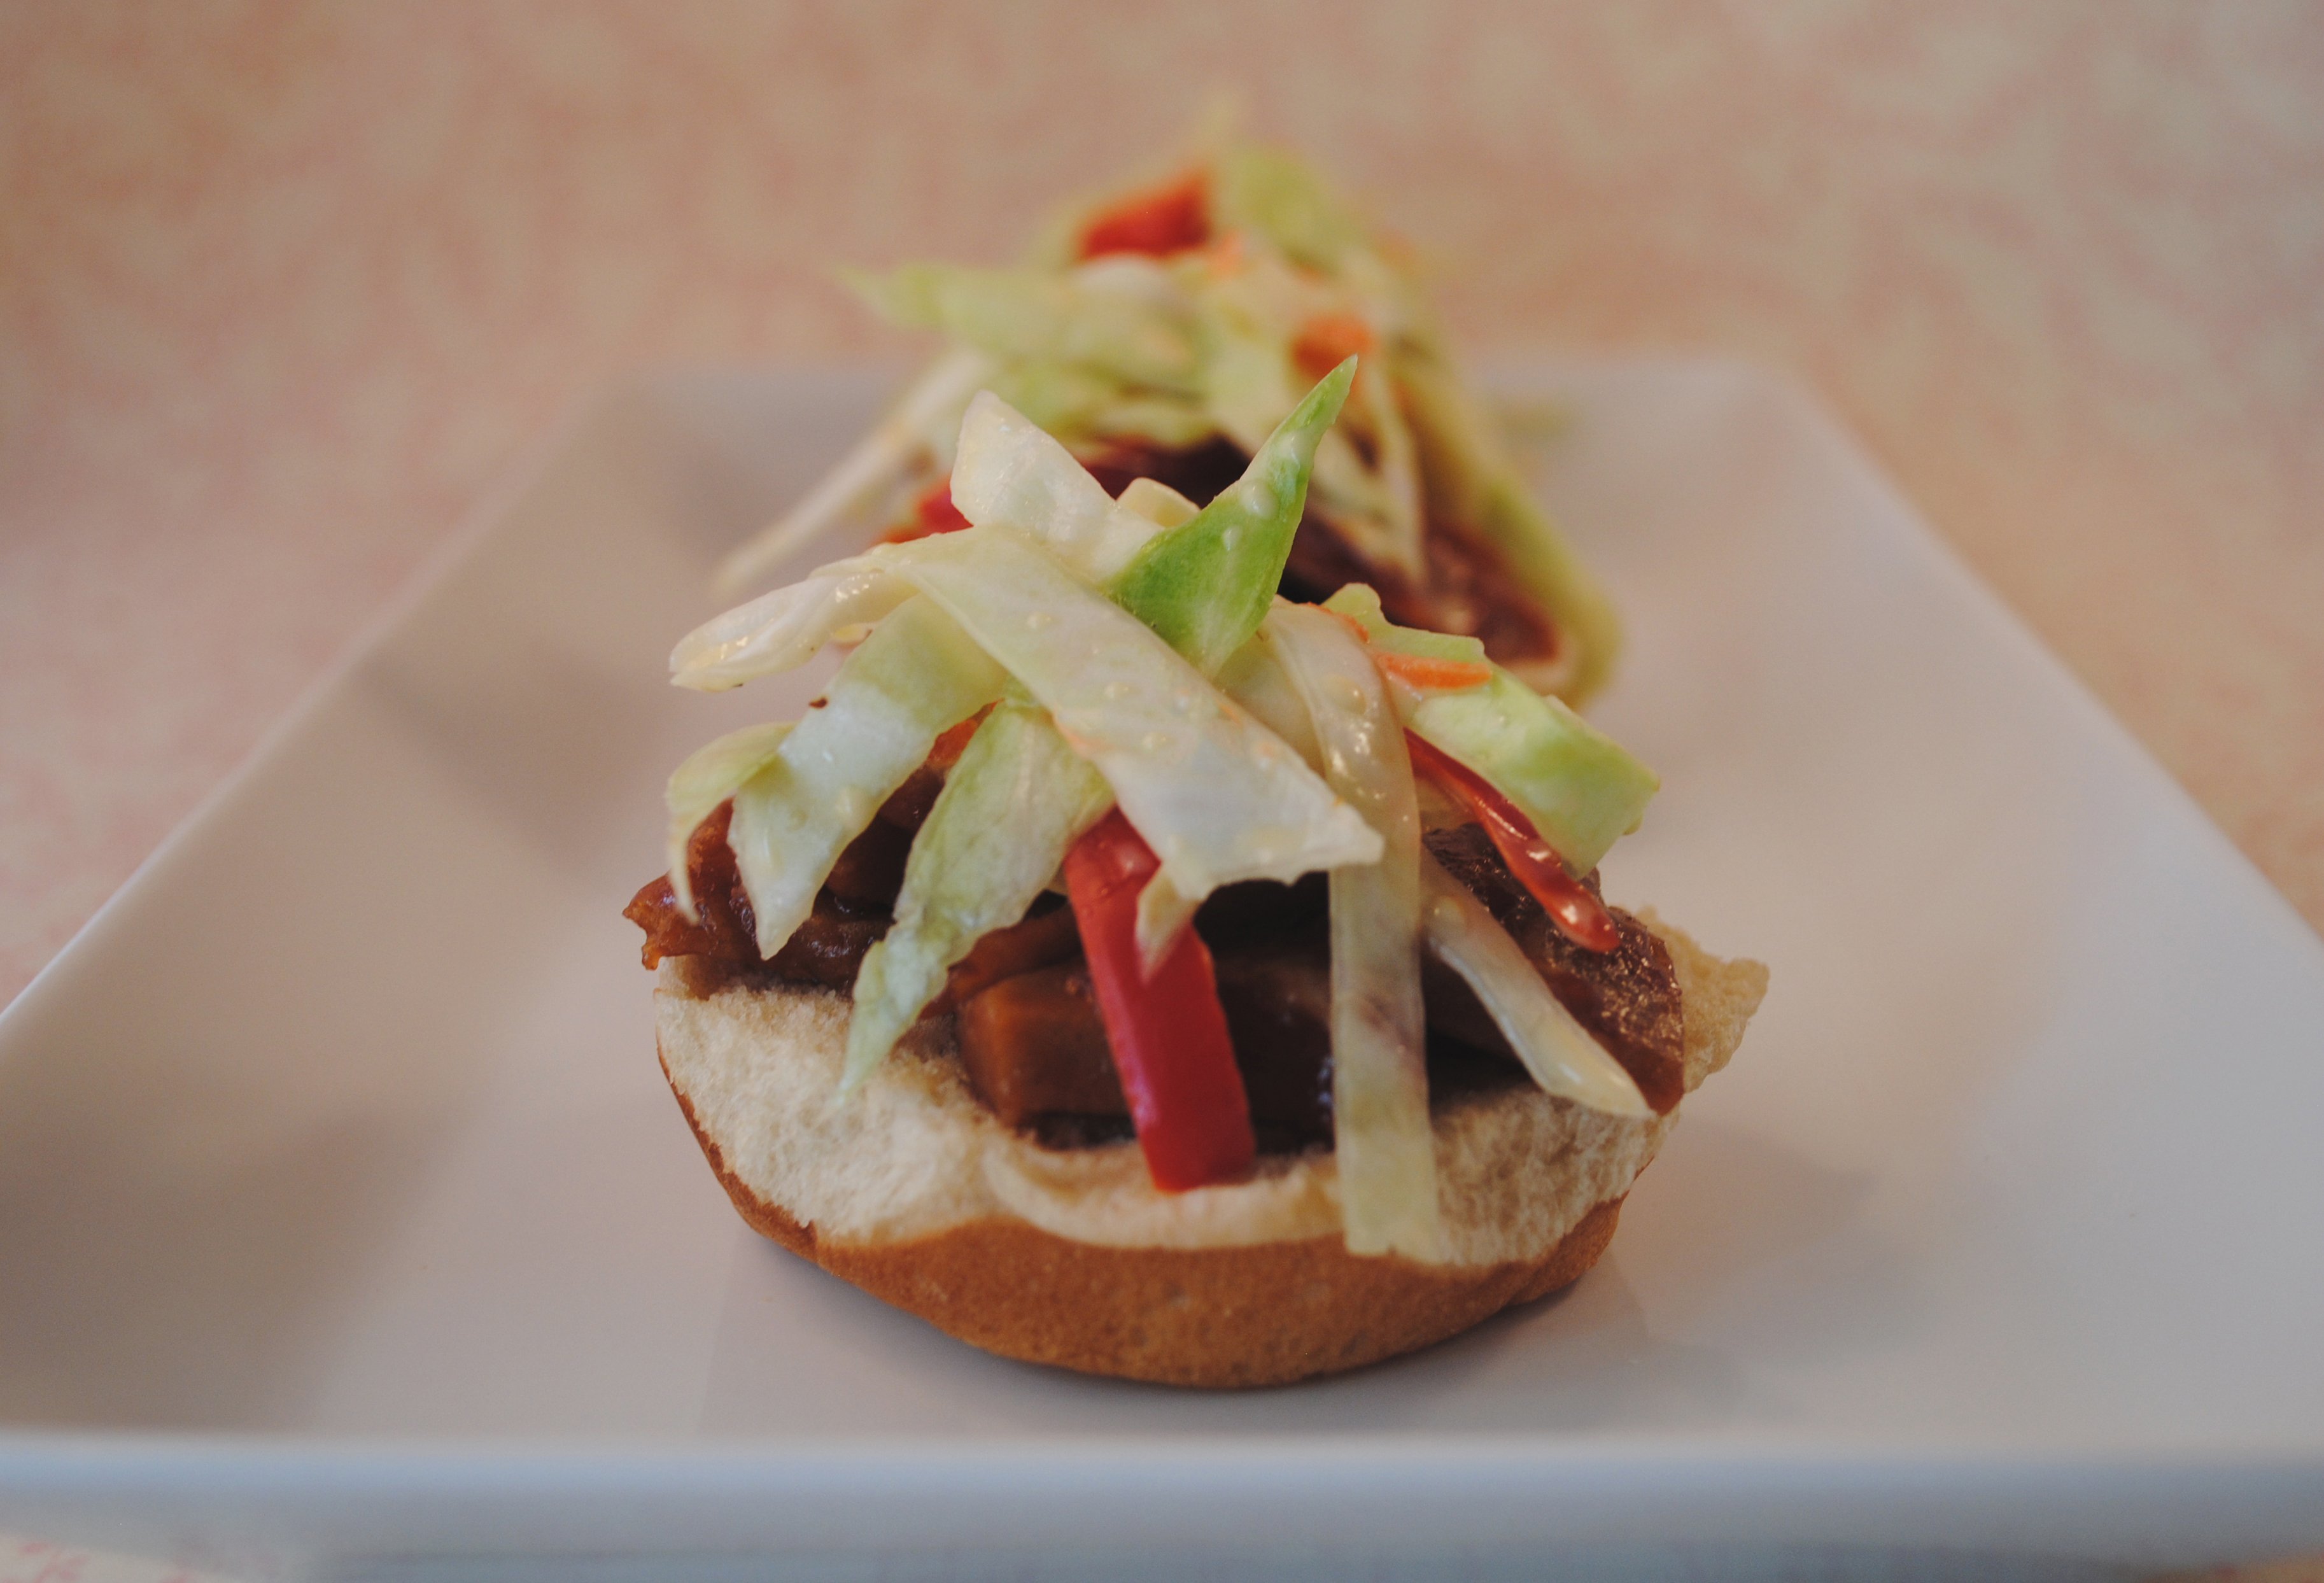
The little bit that I do have for you, though, is interesting. I’ve mentioned a few times that I (try to) follow the Eat to Live diet as much as I can, and this means that most days I bring a salad with me for lunch. I don’t need to tell you that eating salad everyday could get boring, if you’re not careful. To try and keep my salads exciting, I’ve come up with a few yummy toppers that I like to add. I’ve already mentioned that I like crumbling my spicy chickpea burgers on them, now I’d like to share another trick I keep up my sleeve: Spicy Seitan Salad Toppers.

They’re easy to make. Whip up a batch of Chicken-Style Seitan, cut it into little chunks, and season. Then sprinkle on your salad and Voila! You salad is more exciting than it was a few moments ago 🙂  They have the great chewy texture that we love about seitan, and I think changing up the textures in your salad is the easiest way to keep from getting salad-burnout. These are a little spicy too, so you’re literally Spicing Up Your Salad! And of course you can make them as spicy as you’d like- mine are more in the mild-to-medium range. You can see all the flavor on them though- yum!

Spicy Seitan Salad Toppers

Spicy Seitan Salad Toppers (Makes toppings for 4-5 salads)

Ingredients:

Directions:

  1. Chop the seitan into bite sized pieces, then place in sandwich-sized zippie bag.
  2. Add all the seasonings, seal the bag, and shake. Everything will stick to the seitan, and then you can also store it in the bag in your fridge.
  3. Add to salads as desired!

Enjoy!

{ 6 comments }
Vegan Mexican Stuffed Shells

Mexican Stuffed Shells

Firstly, thank you everyone for your kind words about Betty. She’s my special girl, and I’m the lucky one that she found me!

I’ve already shared my Red Chile Style Mexican Stuffed Shells and got some great feedback (If you’re a fan of red chile, you should check them out!). When I first blogged them I promised you an alternate (read: less spicy, more traditional) version. It took me a while, but I finally delivered!

And trust me, these were worth the wait. The shells are filled with a delicious combination of kale, black beans and corn seasoned to perfection. You can make these puppies as spicy or as mild as you’d like! Smothered in taco sauce and melty Daiya cheese, these will satisfy any cravings you might be having for Mexican food. I highly recommend you serve with a side of Margarita 😉


Mexican Stuffed Shells (~4-5 servings)

Ingredients:

  • 18-20 jumbo shells
  • 1 bunch kale
  • 1 t minced garlic
  • heaping 1/2 cup of sweet corn
  • 15 oz can black beans, rinsed
  • 10 oz can Rotel diced tomatoes and green chilies (mild or hot, your choice!)
  • 3 T taco seasoning
  • 1/2 t chili powder (or more to taste)
  • 10 oz jar taco sauce (mild or hot, your choice again!)
  • Pepper Jack Daiya, for sprinkling

Directions:

  1. Cook shells as directed on package. When they’re done, lay them out of a cutting board to keep them from sticking to each other.
  2. Clean, de-stem and chop the kale, then water saute with the garlic until soft and bright green, about 4-5 minutes.
  3. In a big bowl, combine the kale with the beans, corn, Rotel, chili powder and taco seasoning.
  4. Spread 4-5 T of the taco sauce on the bottom of your baking dish, then fill the shells and place them in the baking dish. (One trick I use when stuffing shells, to make sure they all come out about the same and so I don’t run out of stuffing before shells (or vice versa), is to divide the filling in my pan using the spoon, into halves or quarters, depending on how many shells I have. That way you can easily eyeball it and know how much filling to give each shell!)
  5. Cover with foil and bake for 20 minutes. Remove the foil and add the Daiya, then bake for another 15 minutes or until the cheese is all nice and melty.

Enjoy!

{ 6 comments }
Vegan Korean Fried Rice

Korean Fried Rice (Bokeum Bap)

Okay, I know you’re thinking “What the heck makes it Korean? It just looks like fried rice!”, but it has Korean chili paste in it! Also known as Gochujang, this makes it authentically Korean, I promise 🙂  It also makes it good and spicy! This rice was a side dish, served with my Seitan Bulgogi (recipe coming soon!), but I could totally eat it alone. In fact, the next time I make it I’m going to add more veggies and make the the star of the show. The ingredients all came from what I think should be in a fried rice dish, but I gotta give a shout-out to this recipe from Vegetarian Times- I totally stole their idea for letting the rice just sit in the hot pan towards the end of the process.

On a completely unrelated note, I realized that I’ve introduced readers to all the furry members of my family except for one. Everyone has gotten a Happy Birthday blog post, but poor Betty hasn’t had a birthday since I started the blog- and she wont have one until August and that’s not fair. I can’t ask her to wait that long for her 15 minutes of fame!

Betty came to live with me in 2004 as a foster who had been given up by her family when they had a baby (I probably don’t need to tell you how I feel about people who do that, do I?). I lived in San Diego at the time, and was a foster mom with the local Basset Hound Rescue– an awesome organization! I really wasn’t looking to adopt, but the day Betty came bouncing into my condo (because anyone who has a Basset knows they do bounce!) I changed my mind. She was so sweet and happy (and then, suddenly, sad when she realized her people had left without her) and beautiful I just couldn’t resist. She has the most amazing personality- sweet and affectionate and playful, but a little bit obstinate and sometimes very, very grumpy. A few weeks later she was diagnosed with glaucoma and for the next 2 months I was spending all my time and money driving her to the vet (Southern California’s premiere canine ophthalmologist, of course!) and administering eye drops. Eventually it was decided that A.) I was broke, and B.) we couldn’t get her pain under control, so we decided to enucleate the eye- and thus her nickname was born.

Since then she has moved to CO with me and has gone from being an only dog to being surrounded by furry little siblings that she gets along with (most of the time, anyway!). No matter how many other dogs we adopt, though, Miss Betty will always be the Queen Bee around our house- and she makes sure we don’t forget it. Seriously… sneak up on her blind side or bump into her while she’s asleep and she will let you know who’s in charge! (Hint: It isn’t you!)

She’s coming up on the big 1-3 this summer, and although she has megaesophagus she’s pretty healthy overall, so we hope to have a couple more good years with her. The mega has made feeding her a lot more complicated and time-consuming (she needs to be upright when she eats (almost like a person is), and then has to be held upright for at least 20 minutes after each meal), but that really just gives me an excuse to sit with her on the couch watching terrible TV. She’s a really good dog- and she’s excellent at keeping me warm at night. She sleeps right next to me so that I can check on her periodically to make sure her head is elevated 🙂


Korean Fried Rice (Serves 4-5 as a side )

Ingredients:

  • 1 med sweet onion, diced
  • 1 bell pepper, diced
  • Sesame oil
  • 3 cups cooked brown rice
  • 1-2 T Braggs liquid aminos
  • 2+ T Korean Chili Paste
  • 2-3 scallions, sliced thin

Directions:

  1. In a large skillet, water saute the onion and pepper until soft, about 8-10 minutes.
  2. Add a little oil to the pan, then add the rice, Braggs, chili paste and scallions. Stir to combine, then let the rice just sit. Turn the heat to low and don’t stir for 7-10 minutes. You might need to add a little more oil, but this is when everything can start to brown and almost caramelize.

Enjoy!

{ 11 comments }
Vegan BBQ Seitan Sliders
BBQ Seitan Sliders

Sweet and tangy BBQ sauce clinging to thick, meaty strips of seitan combined with a rich and creamy southern-style coleslaw.

That’s it. That’s all I have to say.

Here’s a topless shot… I’ll let the coleslaw speak for itself.

Vegan BBQ Seitan Sliders

Served with a side of the coleslaw and some salt n’ vinegar potato chips, this was a wonderful Saturday afternoon lunch, enjoyed on the deck in the springtime sun! Sure you could make this on regular-sized buns or even on bread, but the little slider buns just make it more fun, don’t you think?

BBQ Seitan Sliders

Servings: 4 sliders

Ingredients

  • 1 loaf of Homemade Seitan
  • 1/2 cup+ of your favorite BBQ sauce a little more or less, depending on how saucy you’re feeling today!
  • 4 soft slider buns
  • 1/2 batch Creamy Southern-Style Coleslaw recipe below

Instructions

  • Slice up the seitan until it’s in thin little bits. I slice mine in half (through the middle) lengthwise, then make very thin slices.
  • Mix with BBQ sauce and refrigerate for at least 2 hours to let it marinate (I left mine in for about 4 hours, or you could do overnight).
  • Layer: Bun, seitan, coleslaw, bun… and that’s it!

Notes

Creamy Southern-Style Coleslaw

Servings: 6
Author: Barb

Ingredients

  • 1 1/3 cups vegenaise
  • 1/4 cup apple cider vinegar
  • 1/3 cup sugar
  • 1 t sea salt more to taste
  • 1 medium green cabbage thinly sliced
  • 1/2 red bell pepper thinly sliced
  • 1 large carrot grated
  • 1 small sweet onion minced
  • Black pepper

Instructions

  • Combine vegenaise, vinegar, sugar and salt in a small bowl, mixing well.
  • In a larger bowl combine the vegetables, then pour the dressing over them. Stir until everything is nicely coated.
  • Refrigerate for at least an hour, then taste and add S&P as desired.
{ 5 comments }

Crispy Potato Soft Tacos

Vegan Crispy Potato Soft Taco (Inspired by Taco Bell)

Crispy Potato Soft Taco

Ahh Taco Bell, that guilty pleasure of omnivores and vegetarians alike. I don’t remember the last time I ate there, but I do know it’s the fast food joint I’ve visited most recently (recently not meaning actually recent, in this case). As we all know, they have multiple vegetarian options and even a few for vegans who find themselves stuck on an interstate or in a food desert with few or no other options.

When I was vegetarian and still transitioning to the awesome vegan person that I am today, the Crispy Potato Soft Taco was my junk food of choice. Perhaps some of you remember it from your own pregan days; crisp, bite-sized potatoes covered in cheese and lettuce, smothered in a spicy cream sauce.

I have no idea what reminded me of those tacos. Maybe I drove by a Taco Bell and my subconscious remembered. Maybe my arteries were like “Hey, why don’t you clog us anymore?”. Either way, I was motivated to recreate those old friends of mine, and so I present to you: The VEGAN Crispy Potato Soft Taco!

The potatoes are crisp (it would be false advertising in they weren’t!) and flavorful, but not spicy. The small amount of heat comes from the adobo cashew cream sauce (recipe below), and if you want to add more heat, this is where you should do it. The slivers of crispy lettuce are my nod to vegetables, and they add a beautiful splash of color. The real stars of the show, though, are the potatoes.

Once again I’m hitting you with a specialty salt: This time it’s Spanish Rosemary. Instead of saying something goes together “like peas and carrots”, it should be “like roasted potatoes and spanish rosemary sea salt.” Honestly, I will never again eat roasted potatoes in any dish unless they have this salt on them, it’s that good!

Vegan Crispy Potato Soft Taco (Inspired by Taco Bell)


Crispy Potato Soft Tacos (Makes 4 Soft Tacos)

Ingredients:

  • 1 med-large potato, cubed into small bite-sized pieces (you want to be able to fit 2-3 into your mouth at once)
  • Olive oil
  • Spanish Rosemary sea salt
  • Pepper
  • 1 t Dried parsley
  • 15 cashews
  • 1-2 chipotles in adobo sauce (canned)
  • 1 t cumin
  • 1/4 cup plus 1 T non-dairy creamer
  • 1/2 t sea salt
  • The juice of 1/2 a lime
  • Crispy lettuce, shredded
  • 4 soft taco shells
  • Cilantro for sprinkling, if desired

Directions:

  1. Spread the potatoes out on a baking sheet, drizzle with olive oil and sprinkle with sea salt, pepper and dried parsley. Bake at 350 until crispy (about 25 minutes, stirring once). Broil for the last minute if they need more of a crispy layer.
  2. In a blender, combine everything else (except the lettuce, shells and cilantro). Blend until smooth.
  3. To assemble the tacos, layer 1/4 of the potatoes, shredded lettuce and a heavy drizzle of the adobo cashew cream sauce, then sprinkle with cilantro.

Enjoy!

{ 21 comments }

Spring Has Sprung!

Lilac bush

It’s the first day of Spring, and my lilac bushes are saying “hello!”

{ 8 comments }
Scallion Cakes (Pa Jun, Pajeon)

Scallion Cakes (Pa Jun, Pajeon)

My Great Korean Food Adventure continues… Last week I brought you Japchae, delicious sweet potato noodles with seitan and fresh veggies. Today I bring you Scallion Pancakes, also known as Pa Jun or Pajeon. These are incredibly simple, created with ingredients you probably already have (especially if you’re re-growing your scallions!), and most importantly: DELICIOUS!

These only take a few minutes to prepare and cook- the longest part is the 10 minutes that the batter has to rest. And they’re great! Simple yet flavorful- by not adding a ton of spices you can really taste the fresh bite of the scallions, and the little bit of chili paste gives it a little extra *pop*. You can add other vegetables too! Mushrooms, carrots, onions, zucchini… I could go on and on! When I was first collecting ideas for MGKFA, I looked at a couple different recipes for these cakes… some used eggs, some didn’t… but other than that they were all pretty much the same- except for a few that got funky with their veggies! Me, I chose to get funky with the chili paste 😉

Then you can serve them as an appetizer with my Sweet and Spicy Dipping Sauce (recipe below), or as a side dish. If you have extras, wrap them in foil and throw them in the fridge- then reheat them in a frying pan for your next meal.

Scallion Cakes (Pa Jun, Pajeon)

There is some oil required for frying them, but if your pan is hot enough they wont absorb too much. I also placed mine on paper towels after cooking to get rid of the excess oil. There’s not so much that you’ll feel heavy afterwards.


Scallion Pancakes (Serves 5-6 as an appetizer or side dish)

Ingredients:

  • 2 cups flour
  • 1.5 cups cold water (to start, you might add more)
  • 2 t chili paste (Korean or Thai will work, they’re pretty similar)
  • Pinch of Turmeric
  • 2 t salt
  • 1 bunch scallions, halved lengthwise then sliced into 2 inch pieces
  • Oil for frying

Directions:

  1. Mix everything together but the scallions, and let sit for about 10 minutes. The batter should be thinner than if you were making pancakes, but not watery. If it’s thicker than your usual pancake batter, mix in water a T at a time. Then add your scallions and give it one last stir. (If you want to get fancy, you can add the scallions directly to the pan, then pour the batter over them!)
  2. Heat a frying pan over medium-high heat with a VERY THIN layer of oil (I used canola). You just want the thinnest of coatings- we’re not deep frying these suckers! Pour about 1/4  of your batter into the pan, creating a thin pancake.
  3. Cook for 4-5 minutes, flip and give it another 2-3 minutes on the other side. You want it to be golden brown but not burnt. Keep a close eye, especially on your first batch, to make sure you get the timing right. The amount of oil you started with, along with the power of you stove will effect the required cooking time.
  4. As the batches are finish, place on a paper towel to absorb any excess oil, then slice them with a knife or pizza cutter into any shape you’d like.
  5. Serve hot with Sweet & Spicy Dipping Sauce!

Sweet & Spicy (Asian) Dipping Sauce (Plenty for dipping one batch of Scallion Pancakes)

Ingredients:

  • 1/4 cup Bragg’s liquid aminos
  • 1/4 cup rice wine vinegar
  • 1.5 T agave
  • 1 t sugar
  • 1 T sesame oil
  • 1 T plus 1 t chili paste (or more if you want to up the spiciness!)
  • 1 T scallions, sliced thin
  • 1 t garlic powder

Directions:

  1. Mix everything together and serve cold or at room temperature.

Enjoy!

Scallion Cakes (Pa Jun, Pajeon)

{ 15 comments }

Make Those Scallions Last Forever!

How to regrow scallions/green onions

Well, okay, maybe not forever, but longer than it takes to use up that bunch you have sitting in your fridge!

You’ll have to forgive me this non-food post, but I saw a picture of this method for regrowing scallions/green onions on Pinterest a while back. It was one of those horribly annoying pins that has no link… Gah! Those bug me! Anyway, I had no real background or information to go on, but the picture was pretty self-explanatory… put the white parts of your scallions in water (after you’ve used the greens) and they will grow back.

Look at that little peeper peeping out!

How to regrow scallions/green onions

I took these pictures just 3 or 4 days after placing the root ends in water. I like seeing results right away, it lets you know you’re on the right course! Since then they’ve grown another couple of inches, and are ready to harvest should I need some! I added a second bunch over the weekend (not pictured), and those have already grown nearly an inch! With the 2nd bunch, I left the rubber band on to let them grow more neatly in the glass.

I’ll be back on Monday with another AHHMAZING Korean recipe that uses an entire bunch of scallions- so you can buy a bunch, use em’ up, then plant the ends in a glass of water on your counter!

{ 7 comments }

Vegan Japchae (Chapchae, Jabchae)

Vegan Japchae
Vegan Japchae with Seitan

I think about food a lot.  I also talk about it a lot. My friend Shawna has a similar affliction and we’ve been sharing recipes back and forth quite a bit  lately (I veganize hers, she un-veganizes mine (dammit Shawna!). She’s Korean-American and so naturally a lot of her recipes are Korean. It’s a cuisine I’m not too familiar with, and I’m not sure if I ever had it during my pregan days, but the dishes she talks about all sound delicious (if a bit hot)… minus the meat of course. That’s the other thing about Korean food… it’s seems to be awfully meat-centric. More so than other cuisines I’ve come across.

This, of course, sounds like a challenge to me! Take recipes that probably seem (virtually) unimaginable without meat, and veganize them so well that even the most hardcore Korean carnivore would swoon. And so begins My Great Korean Food Adventure!

First up is Japchae. A dish comprised of beef, vegetables and (sometimes) noodles and rice, generally served at parties and special occasions, this seemed like an easy first. I replaced the beef with seitan, but kept the rest pretty much the same. I ventured out to a Korean market for the noodles- Sweet Potato Noodles called Dangmyeon, but everything else I either already had or could easily be found in my local produce aisle.

sweet potato noodles

The noodles were an awesome consistency, chewy and a little bit sweet. Nothing like regular pasta. (You do need to serve almost immediately to retain that chewiness, though!) The seitan was marinated for more than an hour then fried until a little crispy with some garlic, so it was juicy and wonderfully flavorful. The myriad of vegetables were both crisp and healthy- and really made me feel like it was okay to have a second helping. Really- look at all those veggies!

Vegan Japchae

If you (or the people you cook for) enjoy mainstream Chinese or Thai dishes, they’d like this too. It’s very mild- no heat in my recipe (although you could add some Korean or Thai chili paste!)- and you can add or remove vegetables to your liking. What about leftovers, you ask? Yes! It keeps quite well in the fridge, and can be enjoyed either warm or cold. The noodles wont be as chewy with the leftovers, but the taste is still great.

One website I read during my research claims that Japchae is served at nearly every party in Korea… and I’m inclined to believe it!

The best part is that I bought a 1.5 lb bag of the noodles which means there’s plenty more Japchae in my future. Maybe next time I’ll remember to add the sesame seeds!

Vegan Japchae

Servings: 4
Author: Barb

Ingredients

  • 8 oz Dangmyeon sweet potato noodles
  • 1/4 cup Braggs liquid aminos
  • 2 T sugar
  • 1 T rice wine vinegar
  • 1 loaf seitan sliced thru the middle lengthwise, then thinly sliced across (or about 1.5 cups)
  • 1 T sesame oil
  • 1/2 T minced garlic
  • 1 small onion thinly sliced
  • 1 carrot shredded
  • 4 ounces white button mushrooms
  • 1/2 red bell pepper thinly sliced
  • 1/2 yellow bell pepper thinly sliced (you could also just use an entire pepper of either color- mixing them is just prettier)
  • 2 cups of spinach sliced into thin ribbons
  • 1 4 inch section of cucumber thinly sliced lengthwise
  • Toasted sesame seeds for sprinkling

Instructions

  • Mix the soy sauce, sugar and rice wine in a large shallow bowl, then add the sliced seitan to marinate for at least an hour.
  • In a large frying pan, heat 1 T sesame oil over medium heat, then add the garlic, frying until you can really smell it. Then add the seitan and let it get all warm and crispy, flipping with tongs so both sides crisp evenly without burning. (Save the marinade!) After about 5 minutes, pull the garlicky seitan from the pan and set aside.
  • Put noodles on to cook, following package instructions. When they’re done, rinse in cold water and set aside.
  • In the same pan, water saute the onions and carrots for 5-6 minutes, adding more water as needed. Add the bell peppers and mushrooms, cover and reduce heat to low for about 10 minutes (adding the spinach after 5). Turn the heat back up to medium and add the seitan, noodles, cucumbers, leftover marinade and 1/4 cup water. Stir until everything is mixed and heated, then serve immediately (sprinkled with sesame seeds!).
{ 16 comments }

Vegan Peanut Butter and Chocolate Cake

Two Words: Yum. Yum. Please don’t let the “un-pretty” picture sway you- this cake is phenomenal. If you love the PB and Chocolate combo, this is the cake for you!

I made this cake once years ago, in my pregan days, but unlike most recipes that I make just once, I never forgot about this one. Seriously. I made it in 2007 and I still remember how good it was- that should tell you something.

The neato part about this particular cake is that after it’s done baking, you poke holes in it with a wooden spoon handle, then pour the hot liquidy frosting all over it, so the frosting gets all mixed in with the cake. You can actually see it in the picture. Paula may be one of the least healthy people on the face of the planet, but she knows her cake.

I guess there are actually a couple “neato” things about this cake… the other one that comes right to mind being the batter. And since this version is vegan, we can do something that people making the original recipe can’t… EAT IT RAW! It tastes like peanut butter mousse, y’all! So go ahead and stick your finger in that bowl, or lick the mixers because you’re missing out if you don’t. And it’s still good after it’s baked, all peanut-buttery and rich. So decadent. The frosting is divine too, and not overly chocolatey.

I changed it up a bit, to make it vegan and at least a little bit healthier (it’s still not healthy though, let’s be honest with ourselves). I got rid of the eggs of course, and reduced the amount of shortening and sugar. It’s still wickedly good though!

Faithful readers and friends IRL know that I am miserable at baking. Painfully so. And true to form, I messed this cake up too- although not irreparably. I forgot to make ANY altitude adjustments, so I ended up having to bake it for almost 45 minutes before it stopped shaking like a bowl full of jello. The good news for most readers, though, is that the recipe below should turn out perfectly at your altitude!

Side note: I need an apron that reads: “I have a bad altitude!” 🙂


Peanut Butter Chocolate Poke Cake
Serves 14


Write a review

Print

Cake
  1. 1 cup AP flour
  2. 1 cup sugar, with 2 tablespoons scooped OUT (I used Florida Crystals)
  3. 3.5 teaspoons baking powder
  4. 1 teaspoon salt
  5. 2 cups graham cracker crumbs (Nabisco brand has honey, but are otherwise vegan. You can also bake your own)
  6. 3/4 cup peanut butter
  7. 1/2 cup vegetable shortening
  8. 1 cup plus 2 tablespoons non-dairy milk (I used So Delicious Coconut Milk)
  9. 1 teaspoon vanilla extract
  10. 1 1/2 ripe bananas, really well mashed
Frosting
  1. 2 cups confectioners sugar
  2. 3 tablespoons cocoa powder
  3. 8 tablespoons Earth Balance (2 short sticks)
  4. 1/3 cup vegan cream
  5. 1/2 cup roasted/salted peanuts (The next time I make this cake, I'll use crushed peanuts)
  6. 1 tablespoon vanilla extract
Instructions
  1. Preheat oven to 375 if using a metal dish, 325 if glass. Grease your 9x13 pan and set aside.
  2. Whisk flour, sugar, baking powder and salt together in a large bowl. Add everything else (for the cake, not the frosting!). Beat mixture on low until moistened, then on medium for about 3 minutes.
  3. Bake for 30-35 minutes (see my notes above!), do not remove from pan to cool.
  4. For the frosting, start by making your heavy cream (unless you're going using Mimicreme or something like that). In a good-sized sauce pan mix together all the other ingredients with the heavy cream and bring to a boil, and allow to boil for about a minute, stirring nearly constantly. I recommend a rubber spatula so you don't let any burn to the sides.
  5. Set the pan aside and let it cool until your cake is ready.
  6. When the cake is out of the oven, use a wooden spoon handle to poke holes in it (I did 12), then pour the frosting over it.
Adapted from Paula Deen
That Was Vegan? https://www.thatwasvegan.com/


Related Posts Plugin for WordPress, Blogger...

{ 10 comments }
Social media & sharing icons powered by UltimatelySocial